Creating an AKS Cluster in Azure


Sure, here we ar going to create an AKS (Azure Kubernetes Service) cluster in Azure using the command line:
Follow the documentation to install Azure CLI on your system.I am using Arch So I can use yay/Pacman. You can use a package manager like yay if you are on Arch.
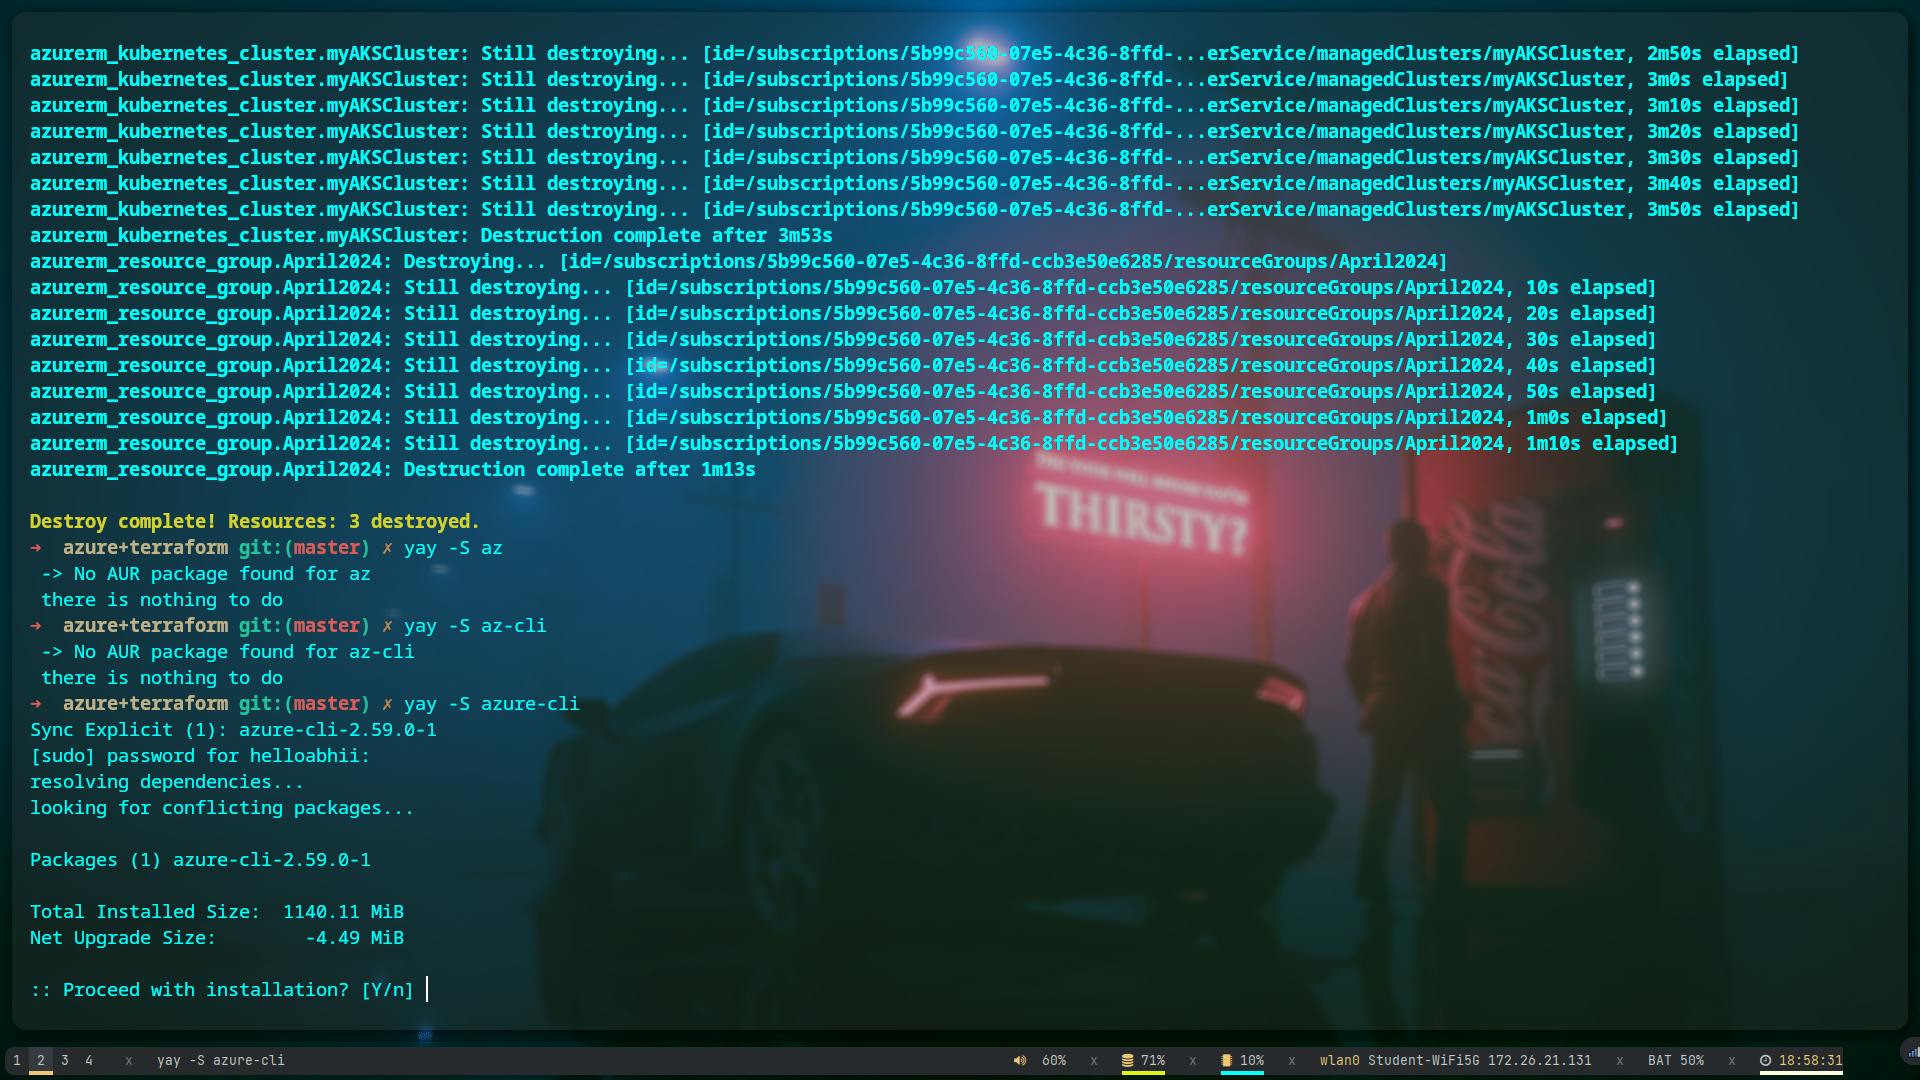
Step 1: Install Azure CLI
yay -S azure-cli
Step 2: Login to Azure
az login
It will redirect you to your default browser. Log in there and all set.
Step 3: Create a Resource Group
A resource group is a logical container for grouping your Azure services. It helps in managing and organizing your resources efficiently.
az group create --name 18thApril2024 --location eastus
like this :

Wait for 1-2 minutes for the resource group to be created.
Step 4: Create an AKS Cluster
az aks create --resource-group 18thApril2024 --name myAKSCluster --node-count 1 --node-vm-size Standard_DS2_V2 --kubernetes-version 1.28.5 --generate-ssh-keys
like this :

Wait for approximately 5 minutes for the AKS cluster to be provisioned.
Step 5: Configure Kubernetes with Your Terminal
Once the cluster is created, you need to configure Kubernetes to interact with it from your terminal.
az get-credentials --resource-group 17thApril2024 --name myAKSCluster
like this:

Step 6: Verify Configuration
To confirm that the configuration was successful, you can use the following command:
kubectl get all
like this

This command should display details about your Kubernetes resources. If it doesn't, there might be an issue with the configuration
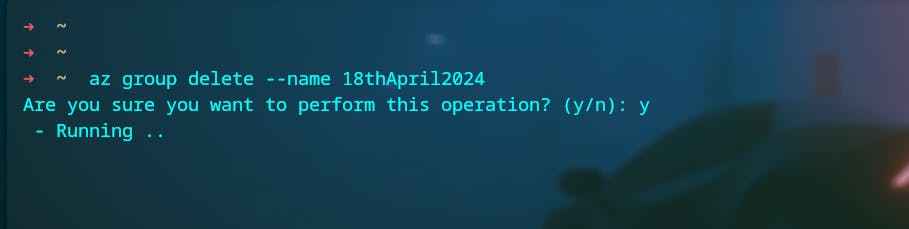
Step 7: Delete the Cluster
After you're done with your work, it's essential to delete the AKS cluster to avoid unnecessary costs.
az group delete --name 18thApril2024
az group delete --name NetworkWatcherRG
az group delete --name MC_18thApril2024_myAKSCluster_eastus
like this:
Step 8: Confirmation
To ensure everything was cleaned up properly, log in to your Azure portal and verify that the resource group is empty. If no resources are remaining, you've successfully deleted the cluster.
Additionally, feel free to reach out to me on LinkedIn, Docker Hub, Twitter, Hashnode, Reddit, or view more of my projects on GitHub.